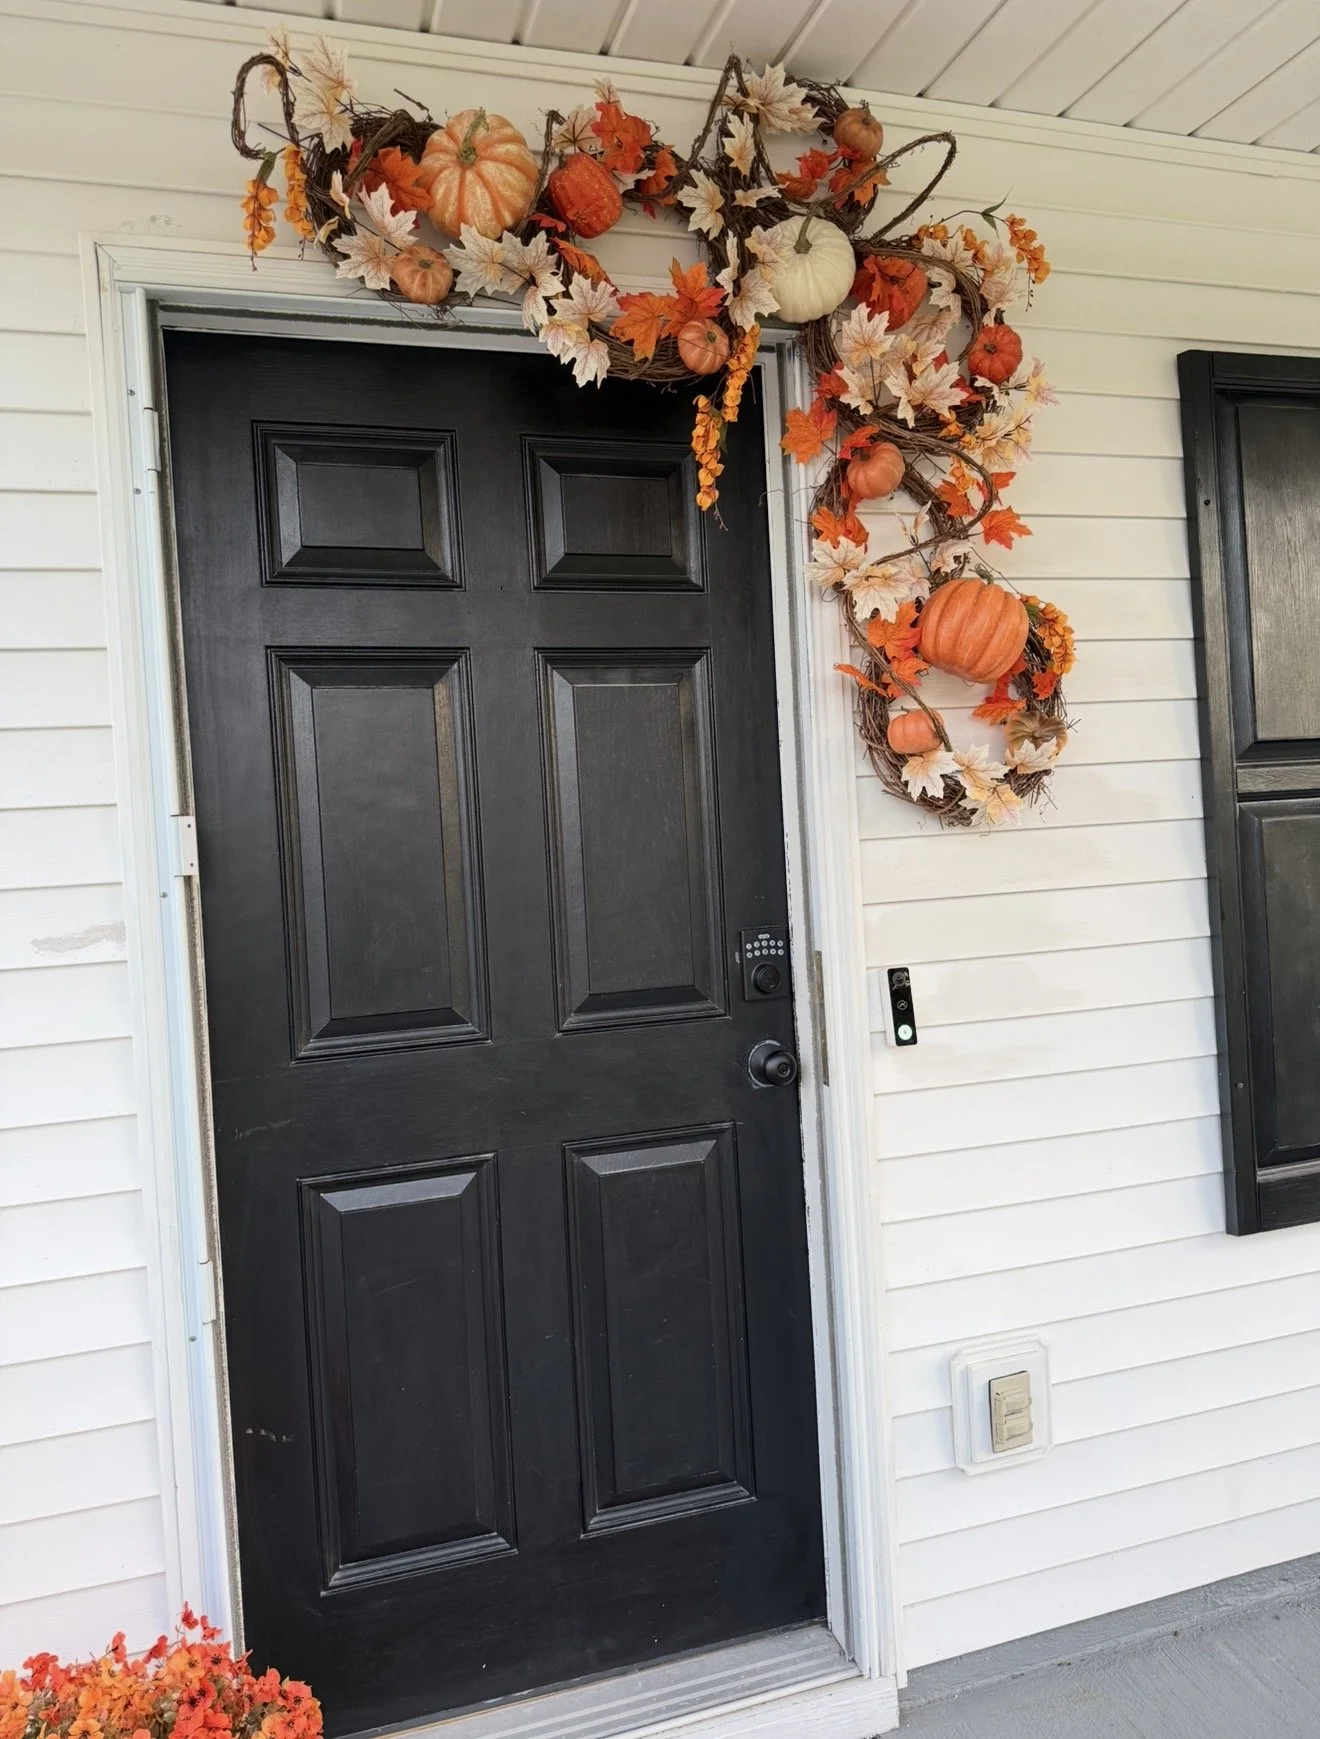
How to Decorate Your Front Porch for Fall on a Budget
Every year when fall rolls around, I get the urge to make my house feel a little cozier—and this year, that included the outside too.
The goal was simple: decorate my front porch for fall without spending a ton of money. I wanted something full, colorful, and festive, but I definitely didn’t want to spend hundreds of dollars buying finished wreaths and expensive seasonal decor. So instead, I headed to Michaels to see what I could create myself. And somehow, what started as a simple fall decorating project turned into me pressure washing my porch first. 😂 Because apparently you can’t put cute fall decor on a dirty porch! But once everything was clean, it was time to decorate.
Watch My Fall Porch Makeover
Want to see the entire transformation come together? I filmed the full process—from realizing my porch desperately needed to be pressure washed to creating the DIY wreaths and decorating everything for fall.
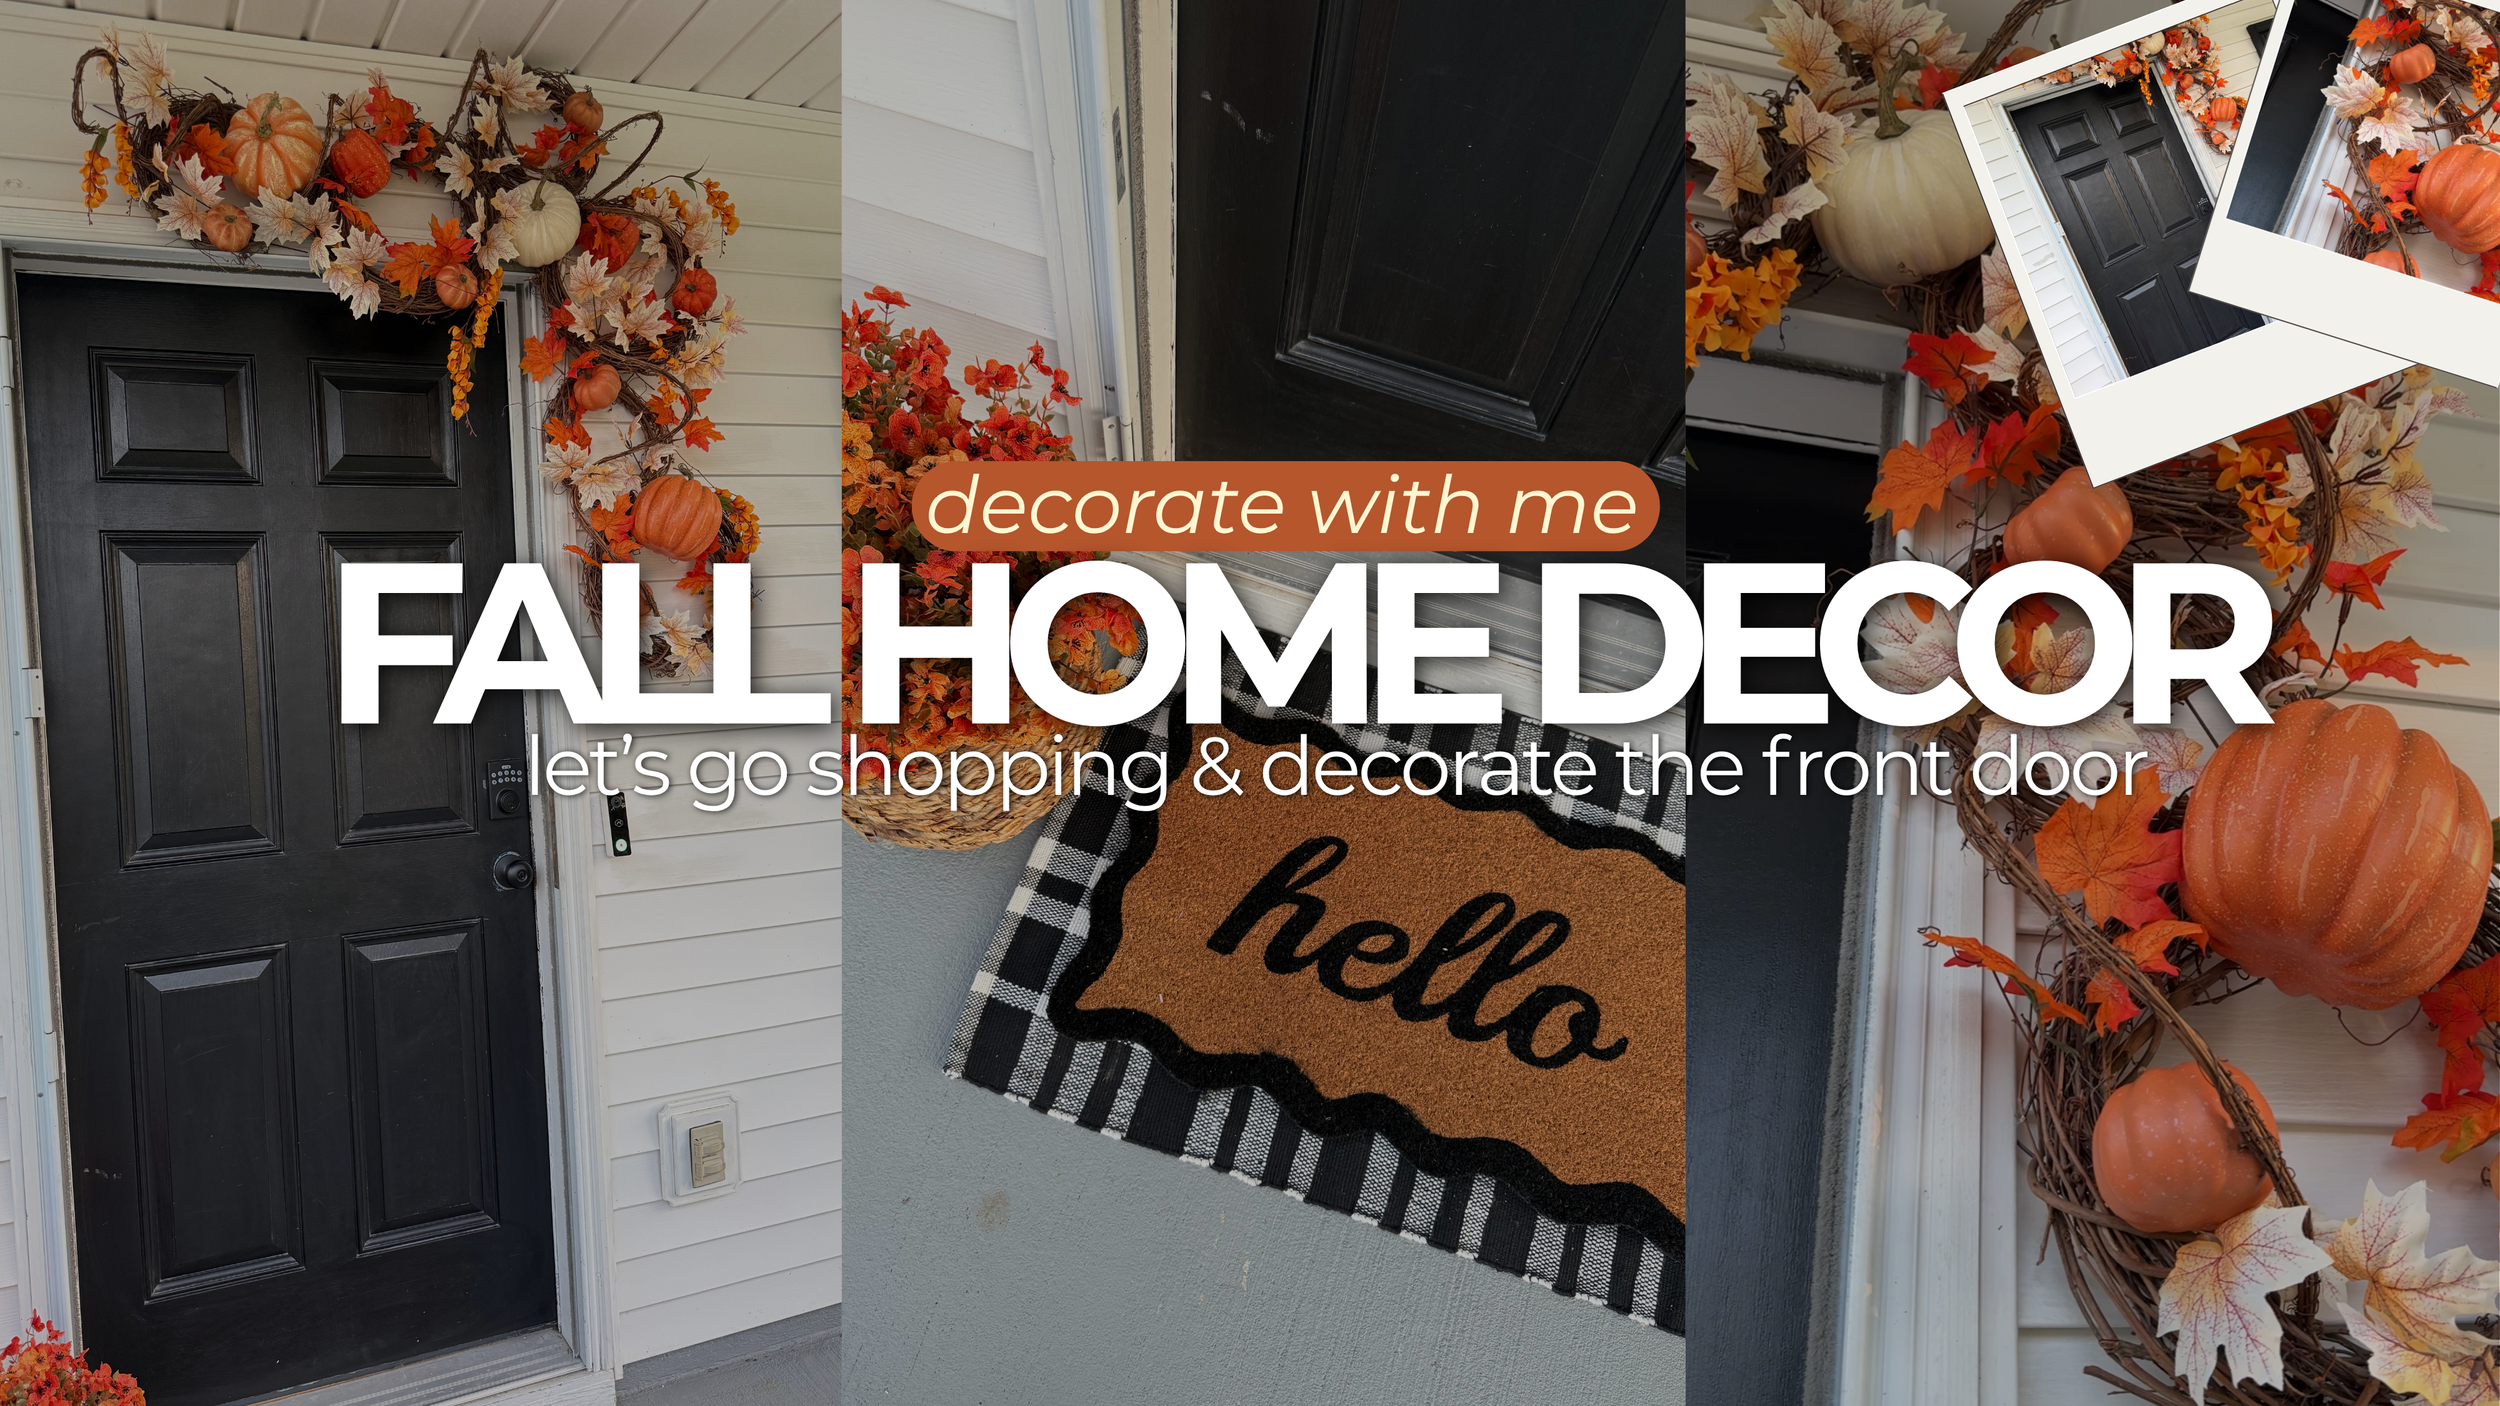
Fall Porch Makeover for Under $100 🍂 | Affordable Michaels Fall Decor + Pressure Washing
You’ll get to see all of the little decisions, changes, and DIY moments that don’t always make it into a step-by-step blog post. Then keep reading because I’m breaking down the supplies, process, and tips you’ll need to recreate this look at your own home.
Shopping for Affordable Fall Porch Decor
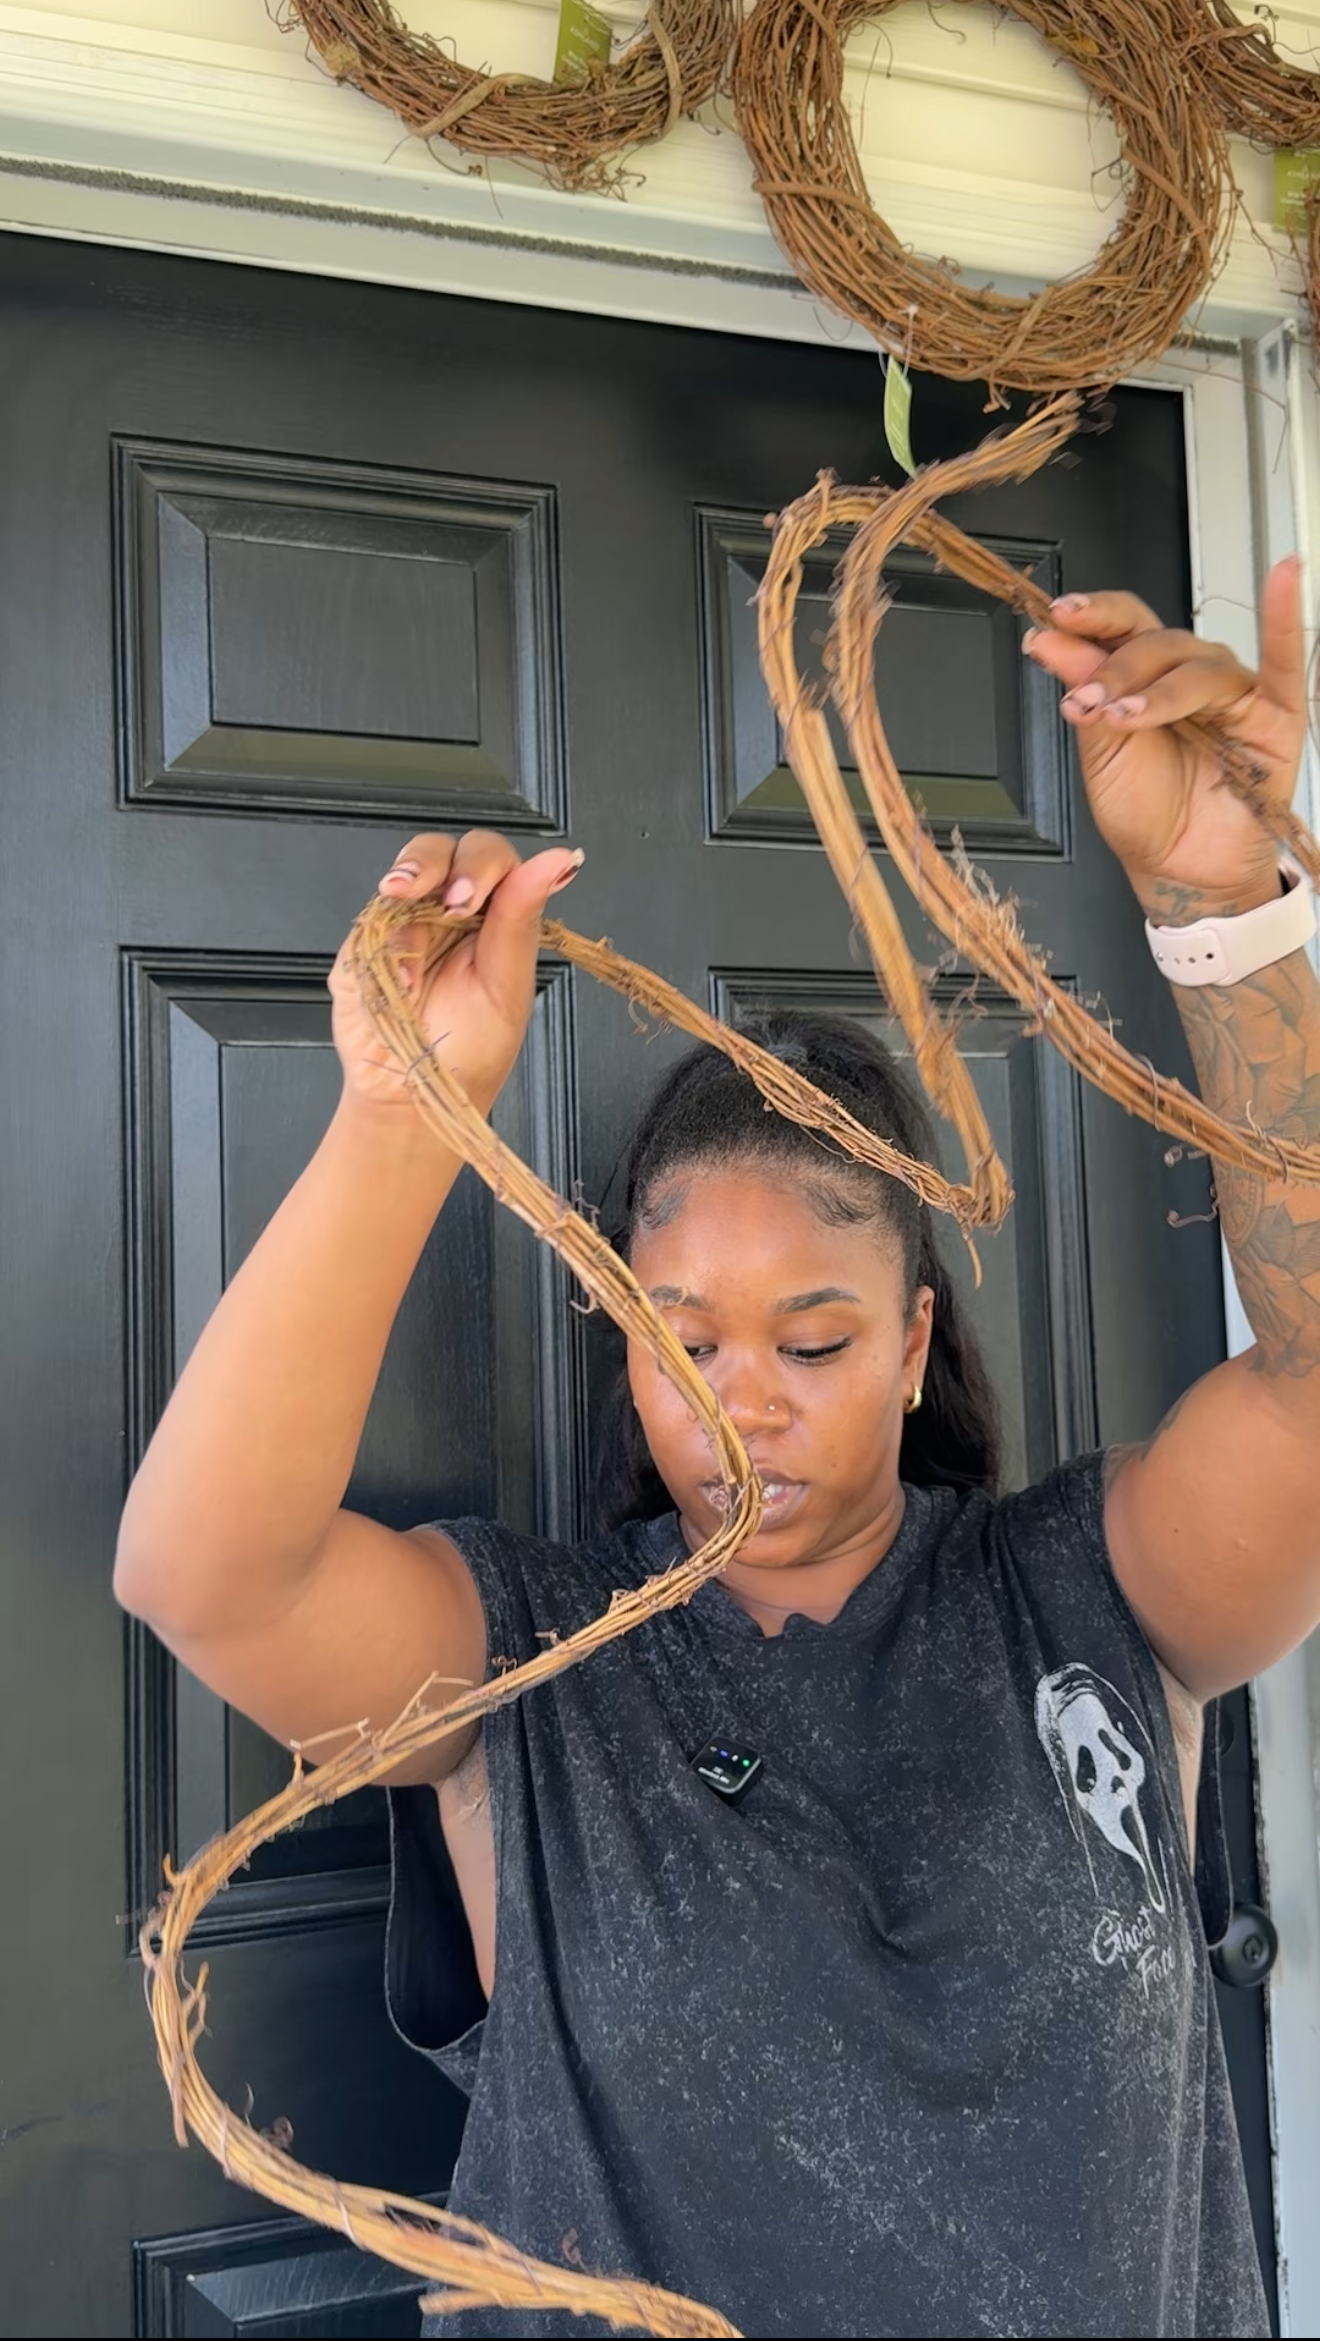
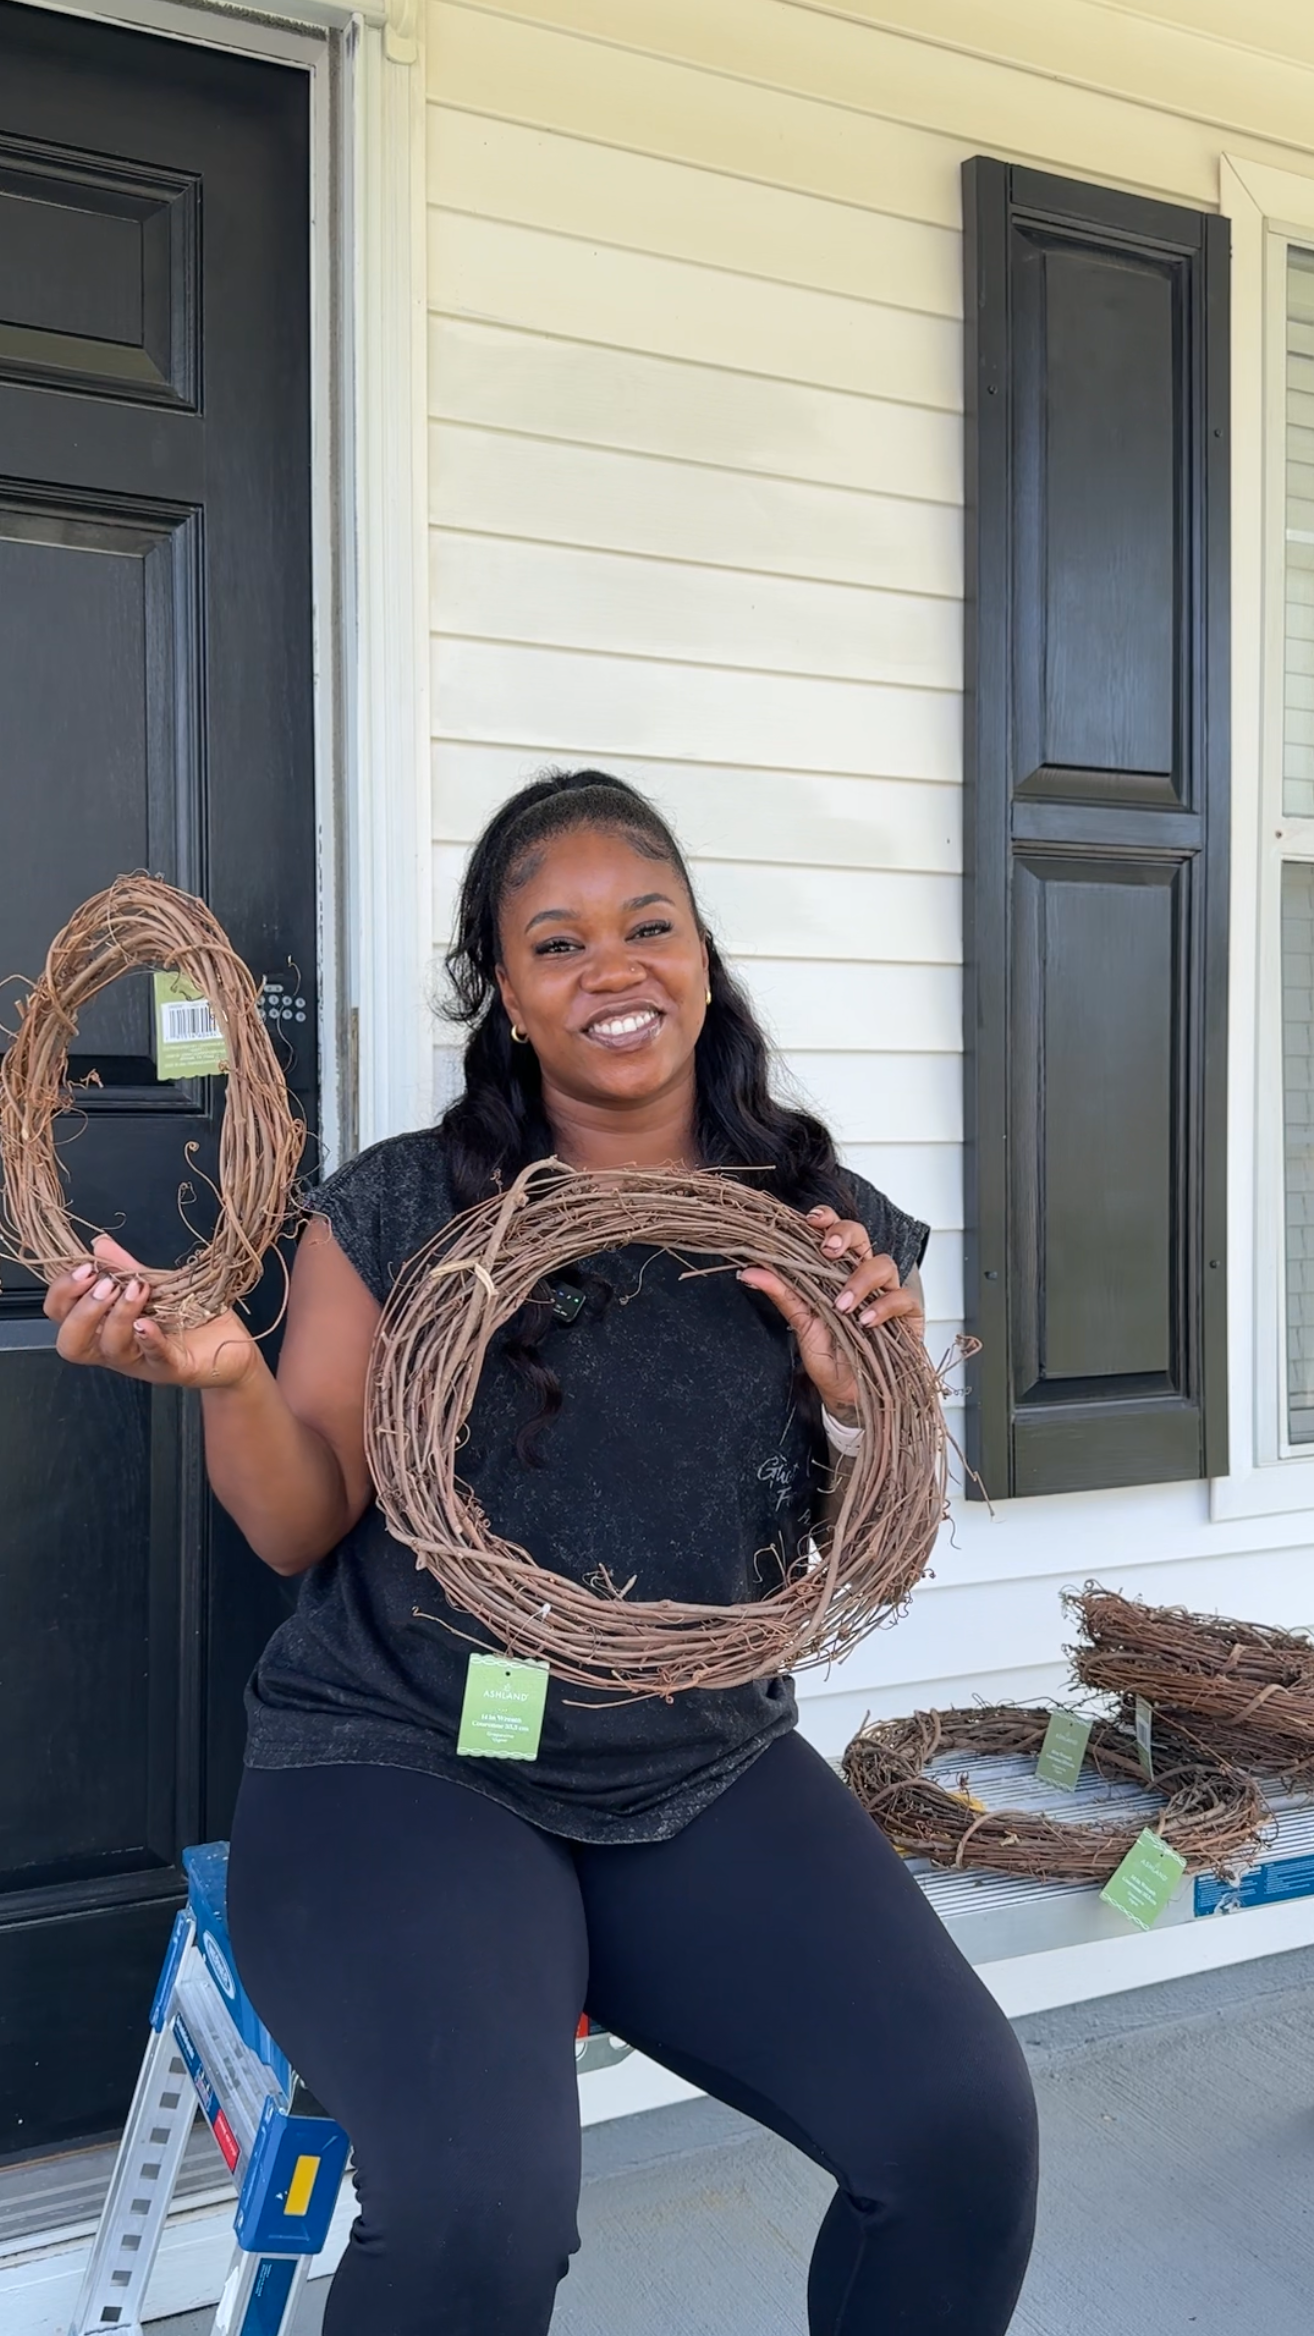
My first stop was Michaels. Rather than buying finished fall wreaths, I grabbed several grapevine wreath forms in different sizes. The grapevine already has a lot of texture, so I knew I could leave portions of the wreaths exposed and still get that full fall look. I also picked up fall stems, leaves, and pumpkins to add color and dimension. The goal was to make the porch look full and intentional while keeping the entire project under $100.
What I Used
For a similar fall porch look, you’ll need:
Grapevine wreaths in various sizes
Faux fall leaf stems
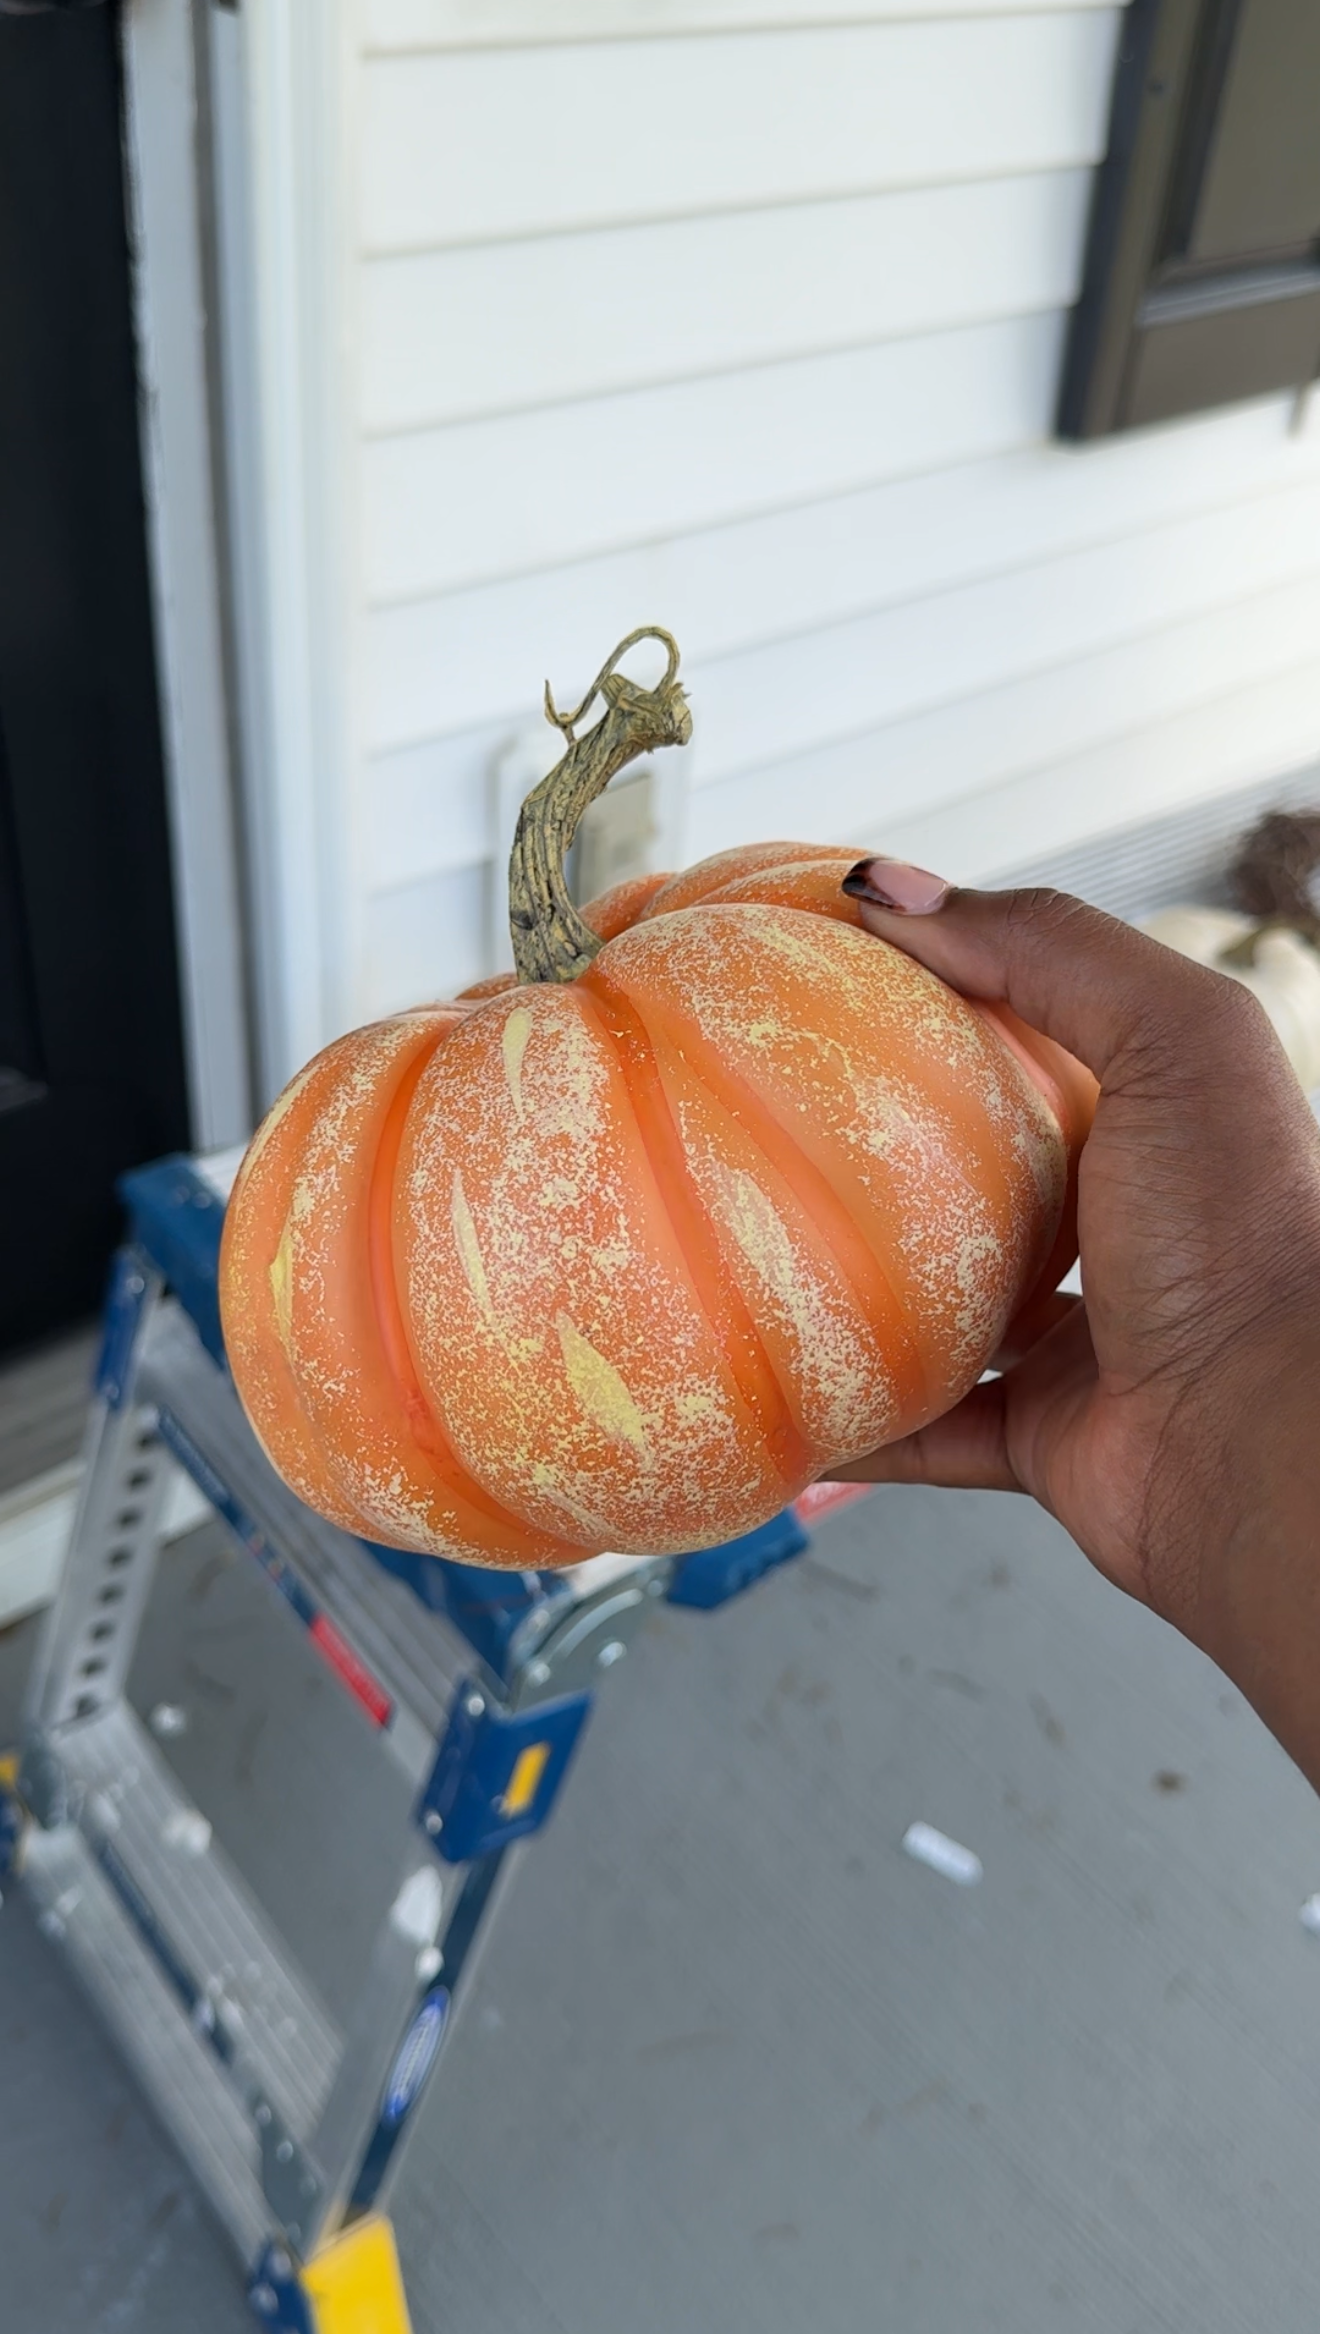
Faux pumpkins
Fall floral picks
Command Outdoor Light Clips
Floral wire and/or zip ties
Scissors or wire cutters
Ladder or step stool
Pressure washer—optional, but apparently necessary in my case! 😂
SHOP THIS PROJECT: https://liketk.it/6nw3V
KJ TIP: Before buying a ton of individual floral stems, lay out your wreaths and decide where you actually want the florals. You don’t have to cover the entire wreath! Leaving some of the grapevine exposed saves money while also adding another layer of texture to your design.
Step 1: Clean the Porch First
This was not originally part of the plan. Once I started getting ready to hang everything, though, I realized just how dirty the porch and siding were. And once you see it, you can’t unsee it. So out came the pressure washer. I pressure washed the porch area, siding, and the areas surrounding the front door before installing any of my decorations.
If you’re decorating your porch for a new season, I actually recommend doing this first. Your decorations are going to look so much better against a clean background, and you won’t have to remove everything later when you inevitably decide the porch needs cleaning.
Lesson learned!
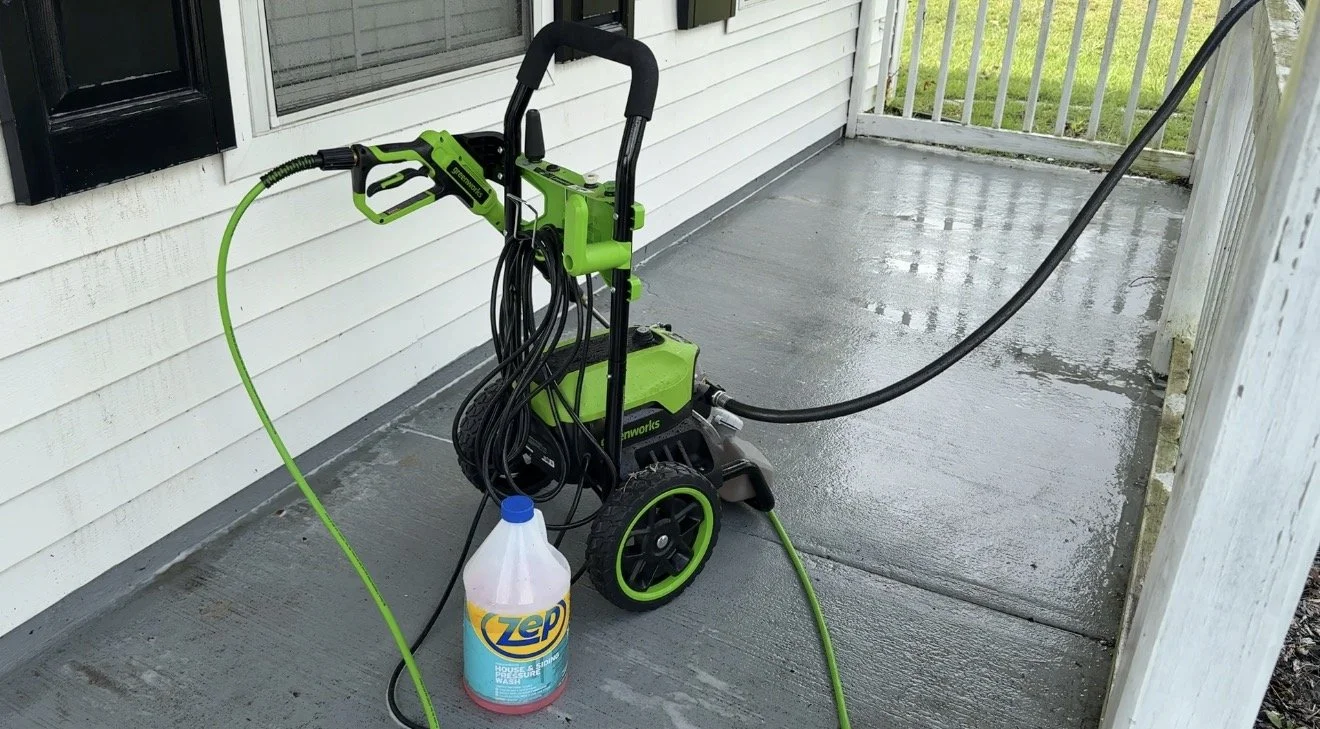
Greenworks 2600 PSI Electric Pressure Washer
Step 2: Create the DIY Fall Wreaths
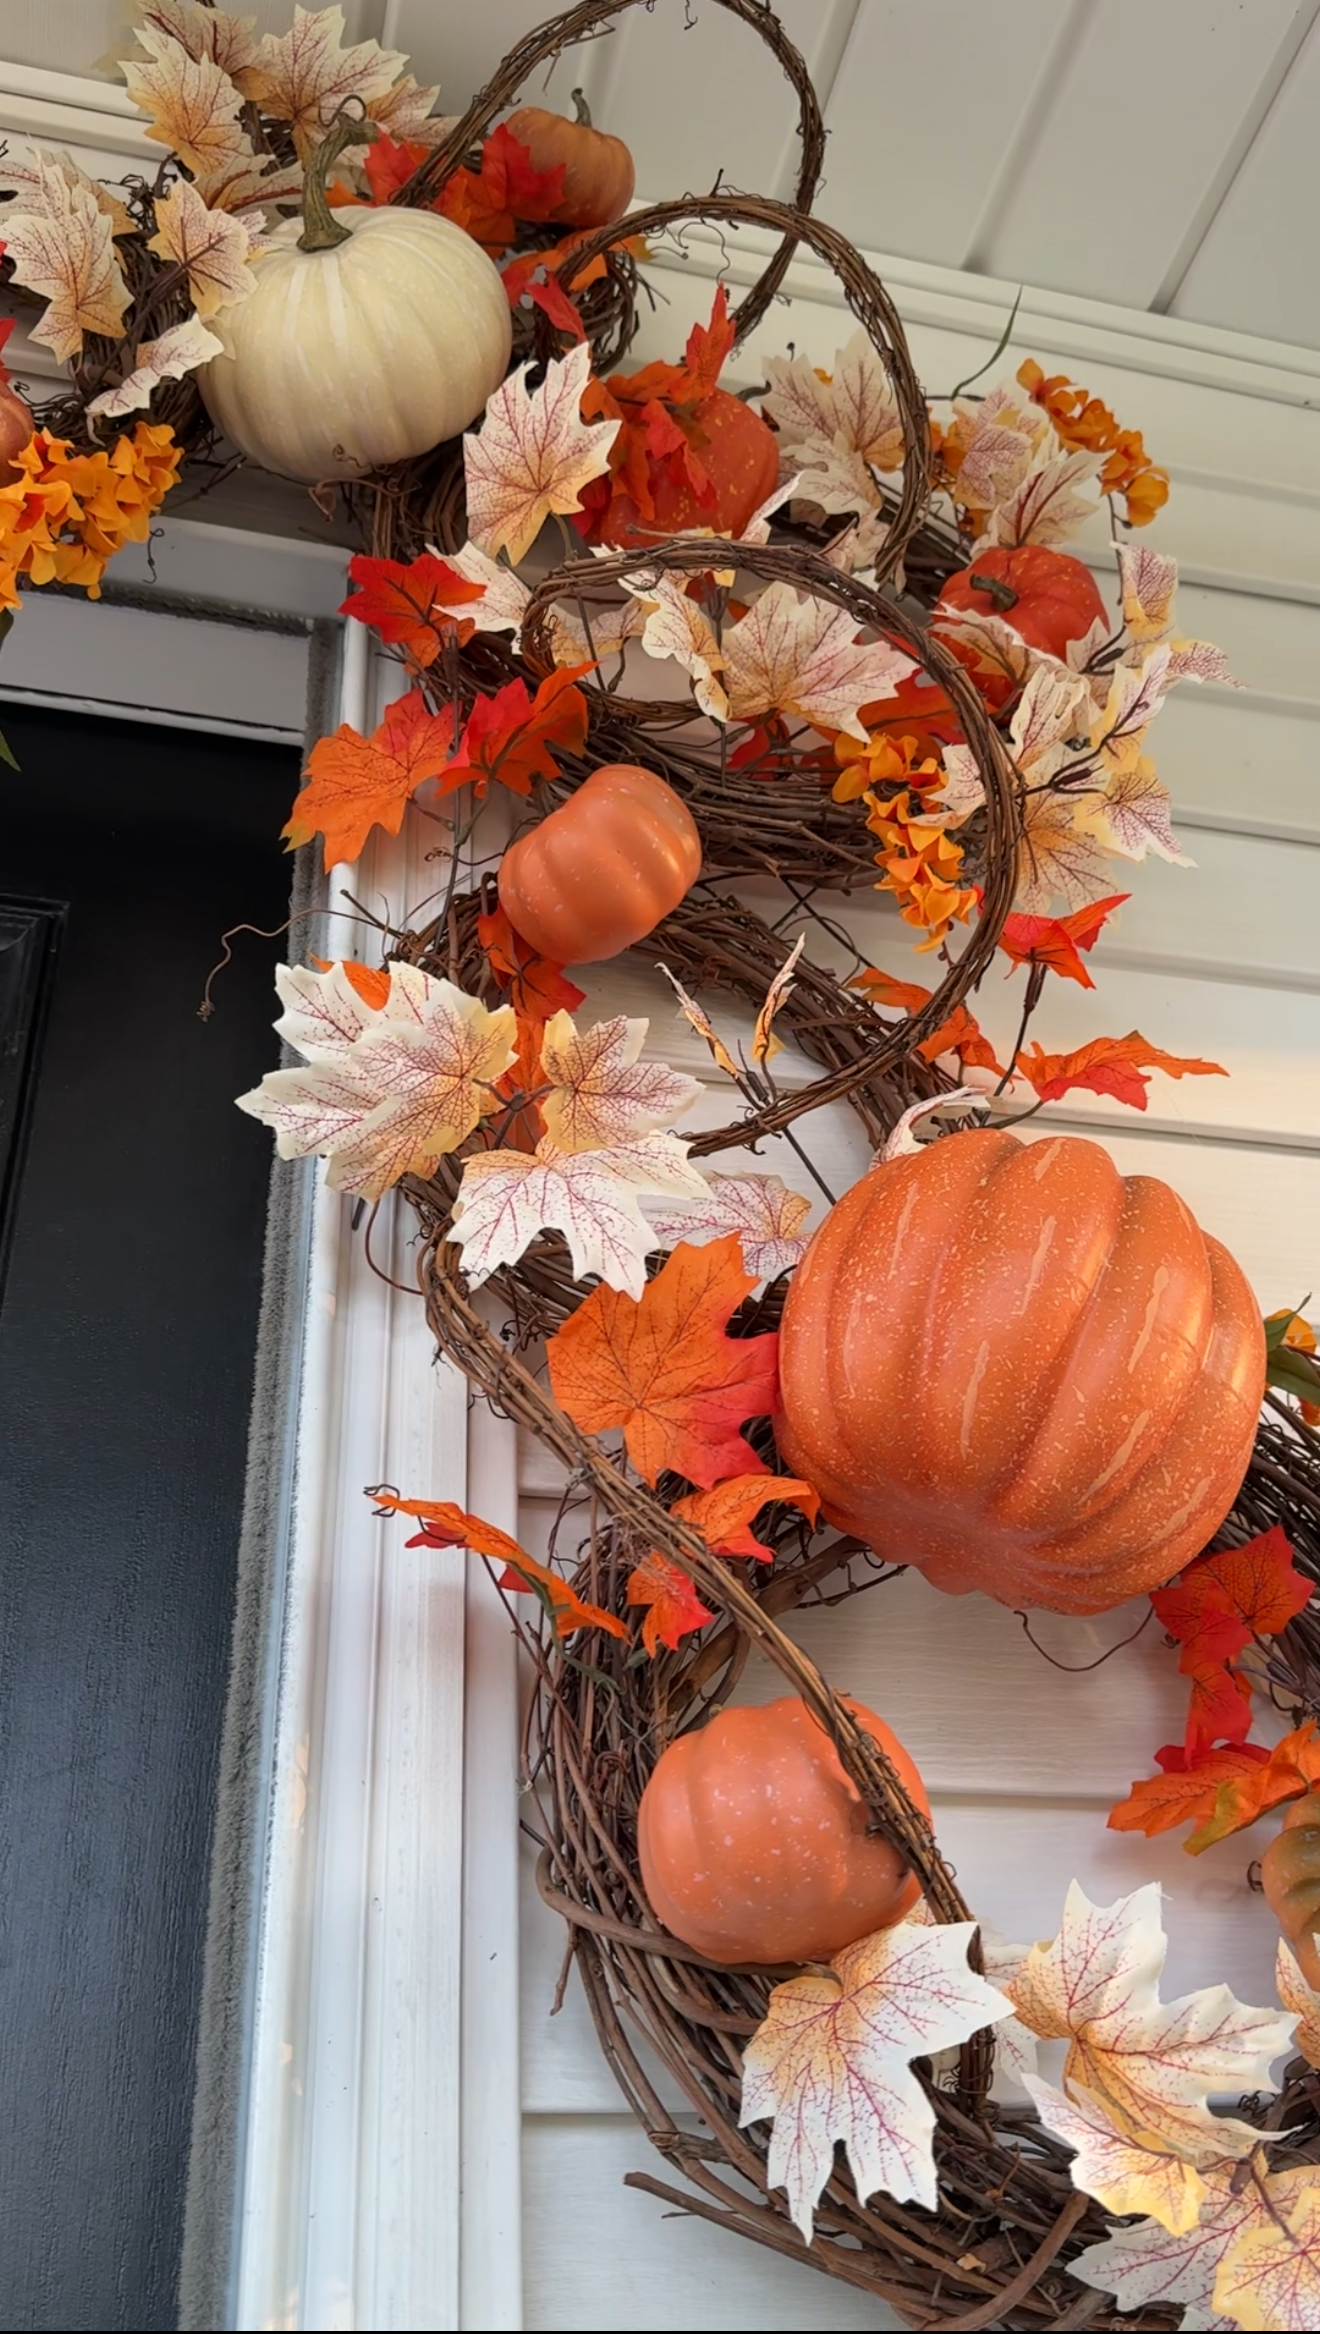
This is where you can really customize this project for your house. I started with plain grapevine wreaths and tucked the faux fall stems directly into the vines. One of the things I love about using grapevine wreaths is that you don’t necessarily need glue. You can weave stems through the branches and use floral wire or hooks when something needs a little extra security. I concentrated the leaves and florals in certain areas instead of completely covering each wreath.
Then I added pumpkins for another layer of texture and that unmistakable fall look. If you’re recreating this, don’t feel like everything needs to be perfectly symmetrical. I actually think these look better when the florals feel a little more organic.
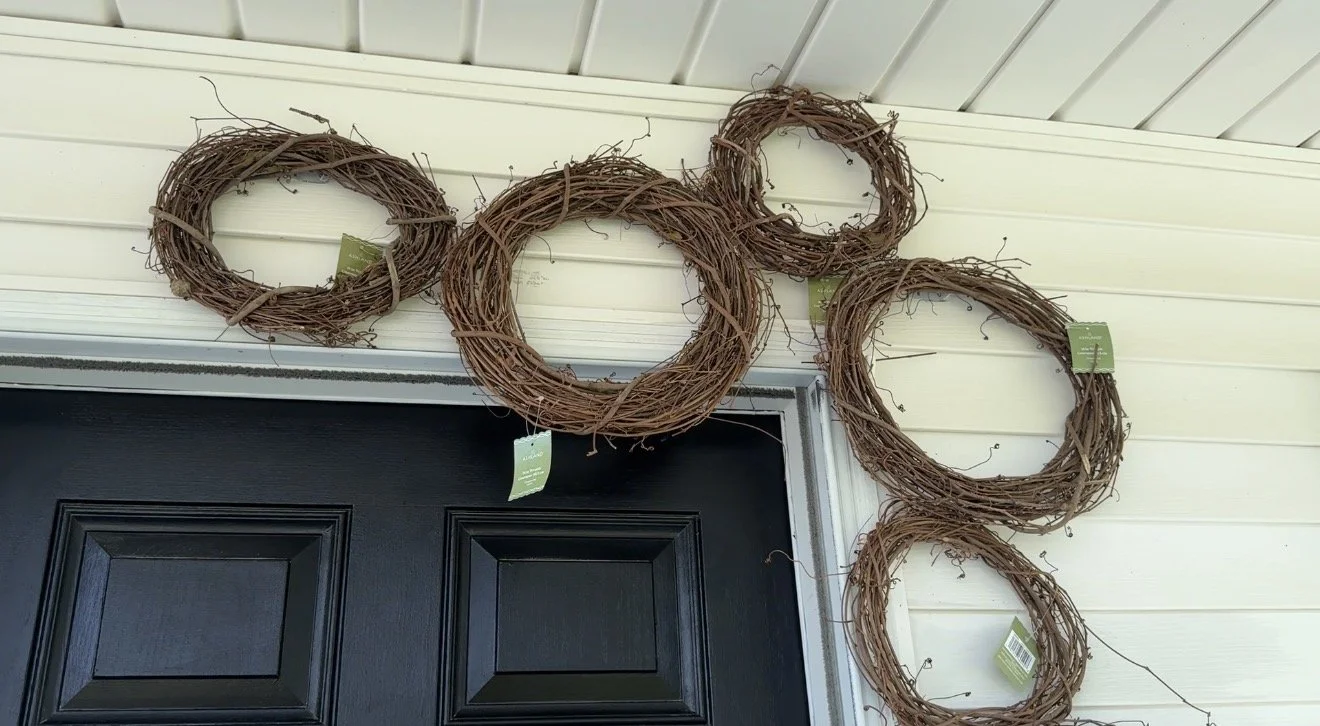
Grapevine Wreaths
Step 3: Add the Finishing Touches
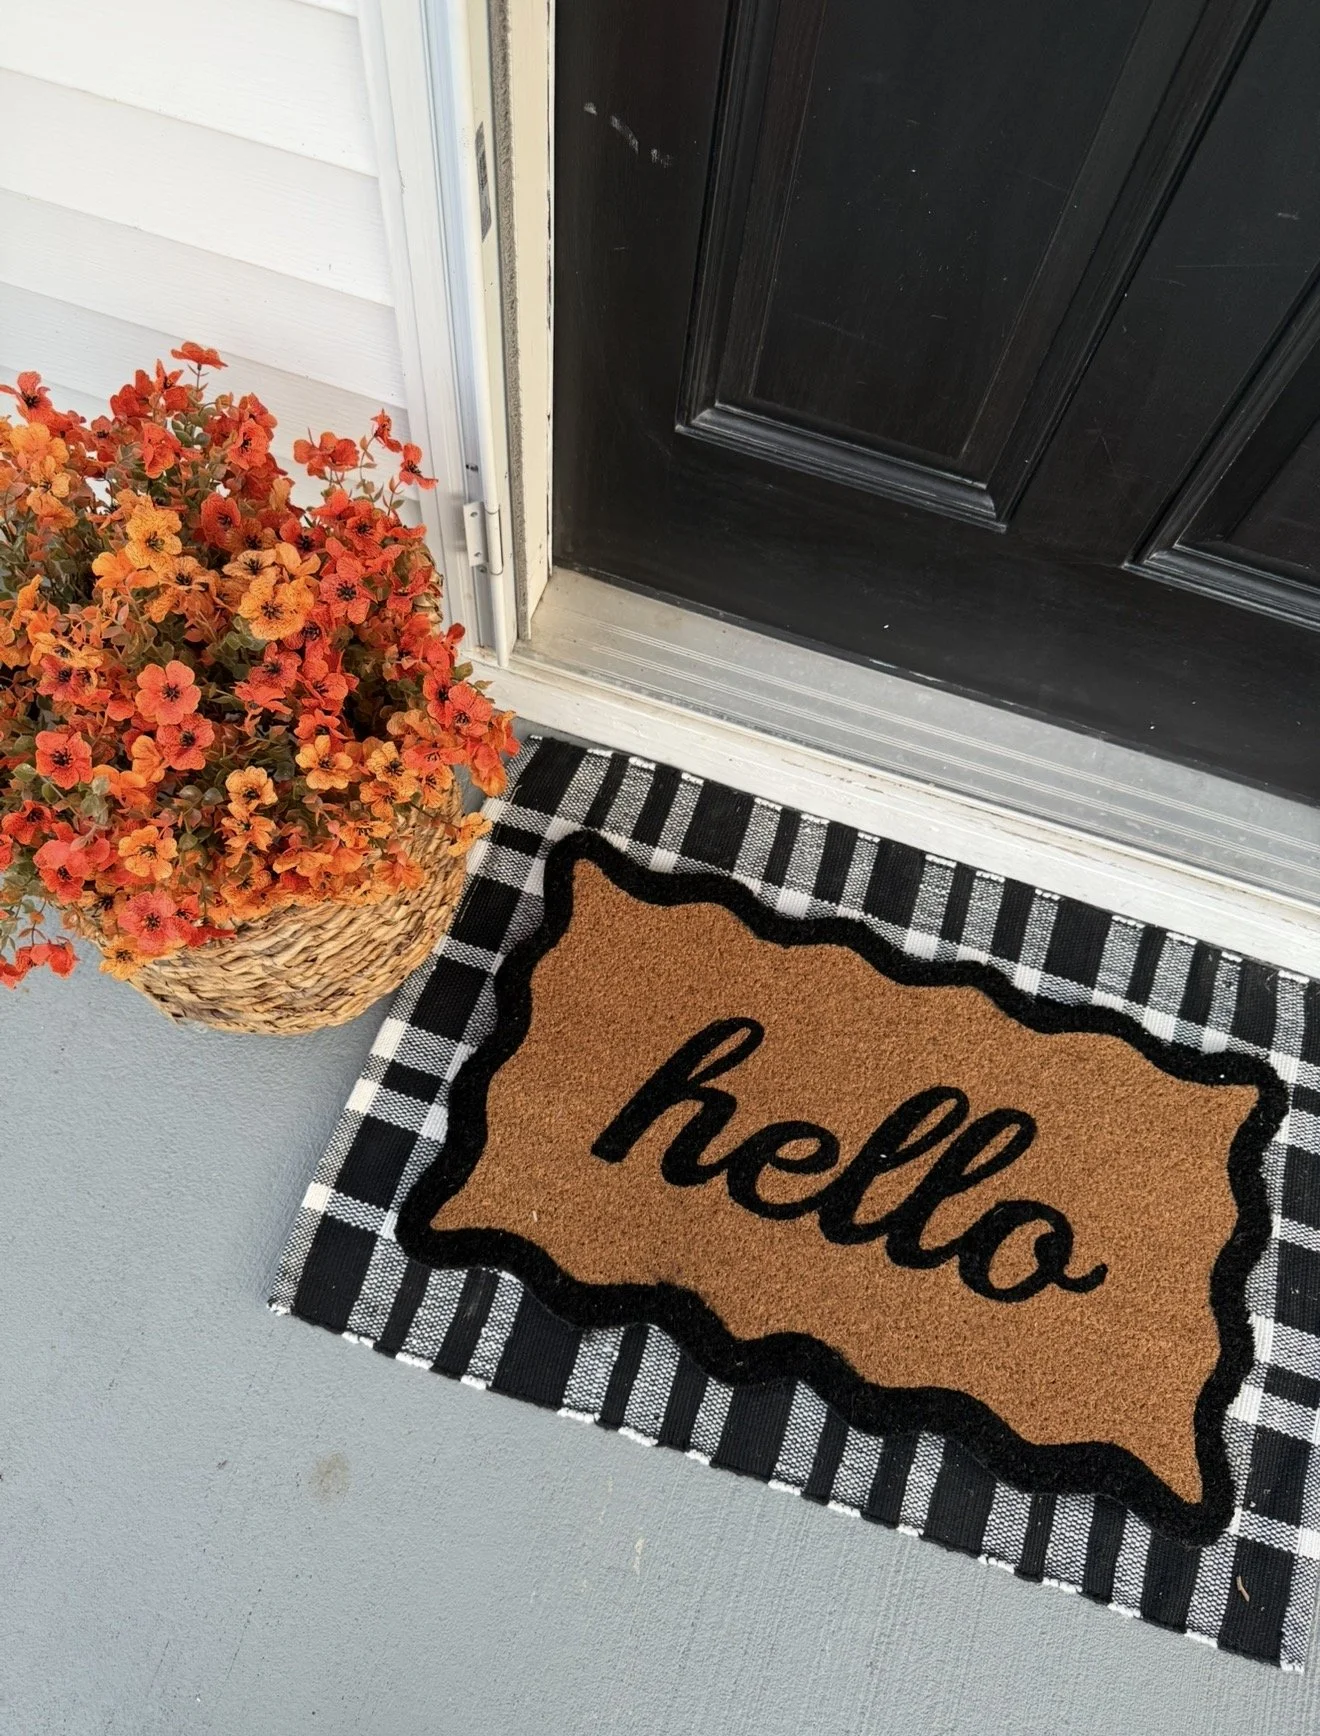
Once the wreath installation was up, I could finally step back and see where the porch needed a little more. That’s one of my favorite parts of decorating. You don’t have to know exactly where every single pumpkin, stem, or accessory is going before you start. Get your main pieces in place first and then fill in the gaps. The black door gave me the perfect backdrop for all of the oranges, creams, and warm fall colors. And just like that, the porch was ready for fall!
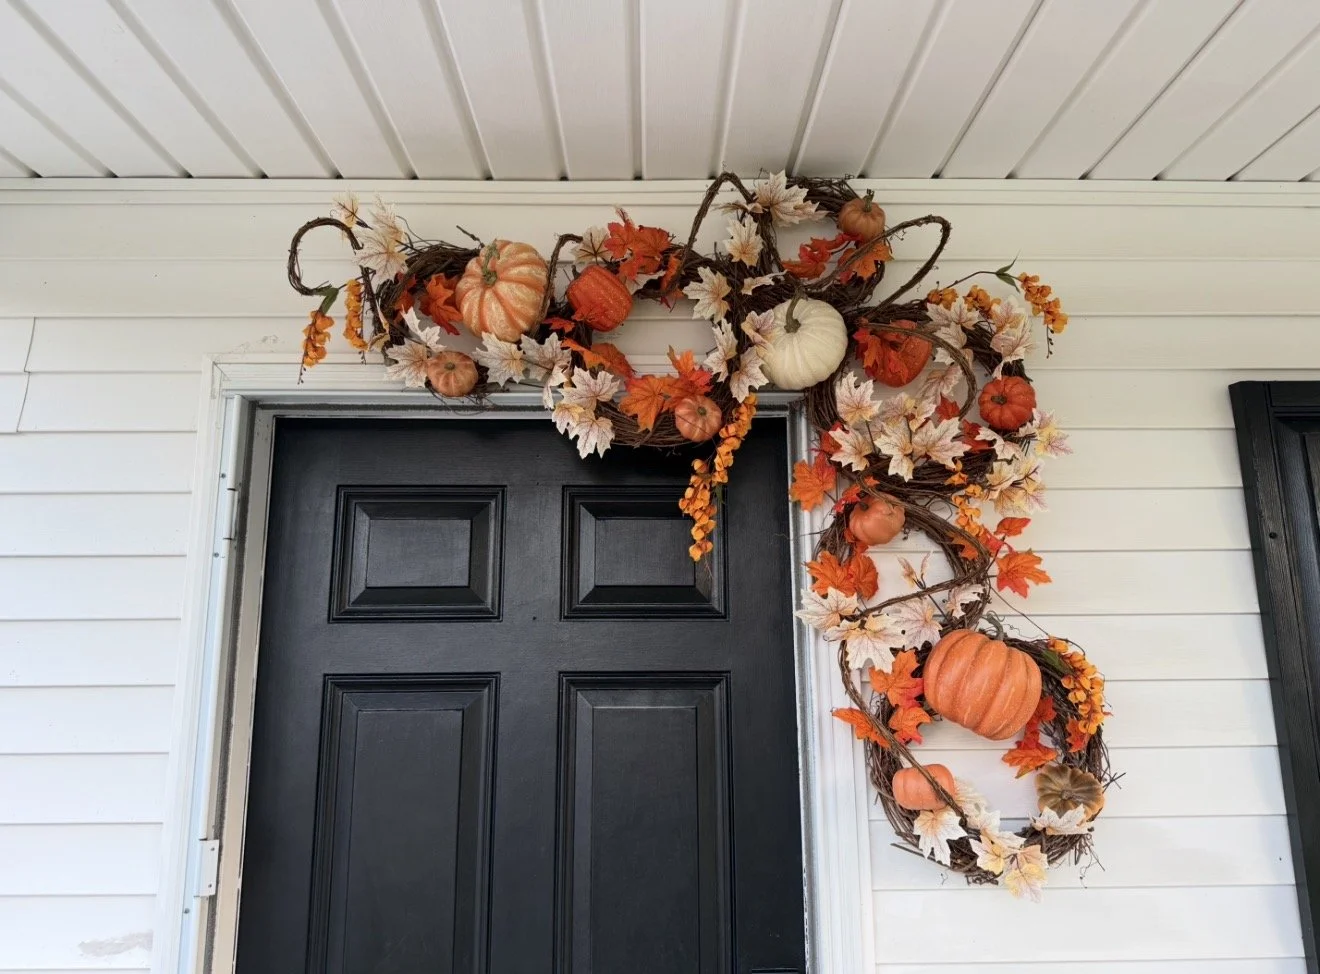
How to Make Fall Porch Decor Look Expensive on a Budget
The biggest takeaway from this project is that you don’t need to buy the biggest, fullest, most expensive wreath in the store. Start with inexpensive base pieces and build on them. Using multiple grapevine wreaths made the installation look much larger, while strategically placing fall stems meant I didn’t have to completely cover every inch with florals. That’s one of my favorite ways to decorate on a budget:
Spend money where it’s going to have the most visual impact.
Another bonus?
The grapevine wreaths can be reused. When fall is over, I can remove the seasonal stems and reuse the wreath forms for another season or an entirely different project. I love a DIY project that doesn’t have to be a one-and-done purchase.
Watch the Full Transformation on YouTube!